Support for CentOS ends in 2021, but the project lives on as Rocky Linux.

Rocky Linux is a rock solid distribution
Rocky Linux is a godsend for Linux enthusiasts like me who are grieving the disappearance of CentOS 8.0 but don’t really like Fedora. This release is the most reliable introductory release I’ve seen. CentOS users switching to Rocky Linux will be pleasantly surprised by the distro’s familiar look and feel. New Linux users will also have no problem navigating and traversing Rocky Linux.
The Linux community has responded positively and supported the distribution. Shortly after Rocky Linux was released, a subreddit was created, /r/RockyLinux, which now has nearly 6,000 users. Here’s how to install and configure Rocky Linux.
Minimum requirements for installing Rocky Linux
Below are the minimum requirements to install Rocky Linux 8.5.
• 2 GB RAM or more
• 20 GB hard drive or larger
• 2 CPUs / vCPU (1.1 GHz processor)
• Internet access (optional)
• Bootable media (USB or DVD)
Further reading: What is Rocky Linux and should you consider it?
Download Rocky Linux and create a USB drive
Follow these instructions to download Rocky Linux and create a bootable USB drive.
- Open a browser and navigate to rockylinux.org/download.
- Click Save File.
- After downloading the files, create a Rocky Linux bootable USB from your machine. If you’re not sure how to do this, see below:
a. How to create a Windows 11 bootable USB drive
b. How to Make a Bootable USB Drive with Etcher in Linux
c. How to create and boot a Linux USB drive on a Mac
Once the installation media has been created, you can proceed.
Rocky Linux Installation Instructions
Follow these instructions to successfully install Rocky Linux 8.5
- Insert the Rocky Linux bootable USB you created into the target PC/Laptop.
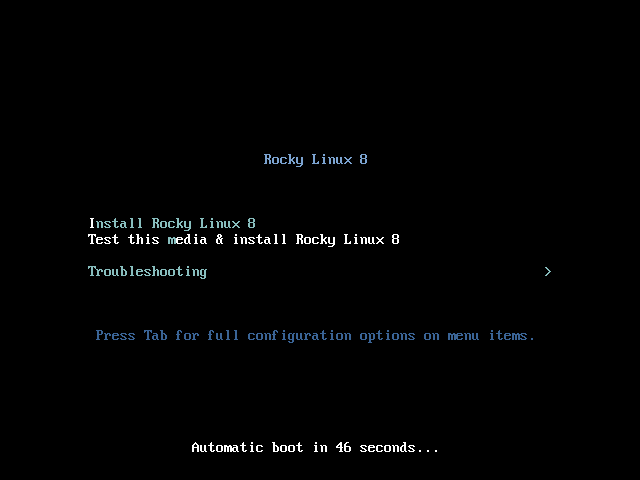
- Start or restart the computer to boot from the USB drive. Once you see the Rocky Linux splash screen, select Install Rocky Linux.
- Click your preferred language when prompted, and then click Continue.
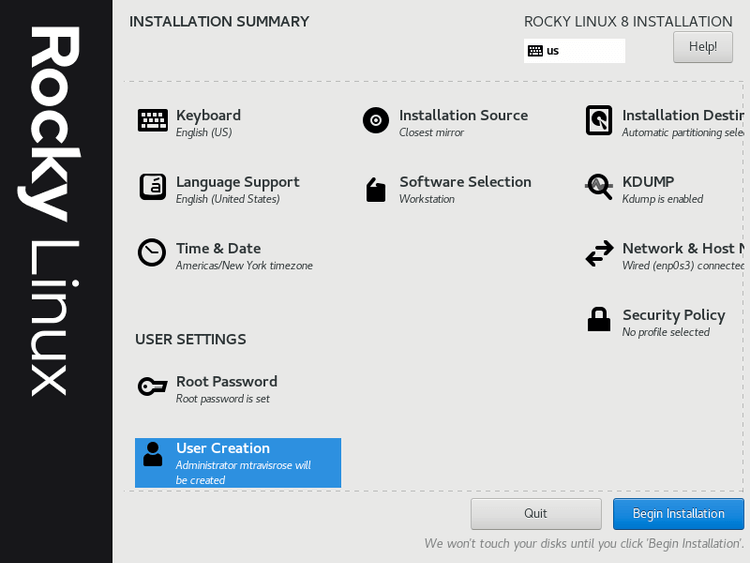
- In the Installation Summary window, select Installation Destination.
Select your target hard drive and click Finish.
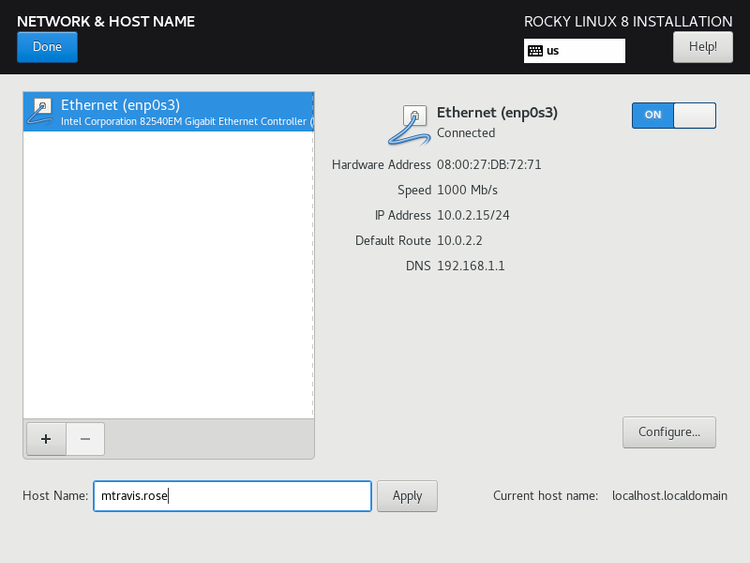
5. Select Network and Hostname, then connect to your network connection. Click Finish.
- Select Installation Source and select your Rocky Linux bootable USB if not already selected.
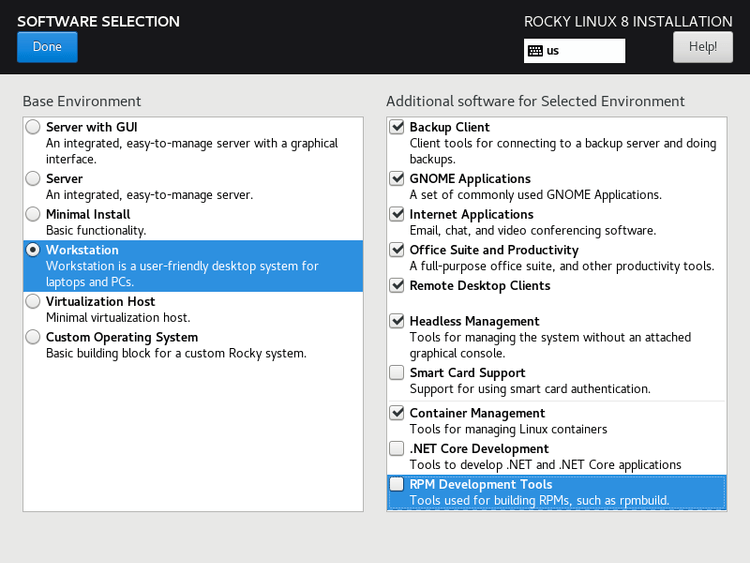
- Select Software Selection and select the desired base environment and additional software. Click Finish when you are satisfied with your selections.
- Select the Root password from the Installation Summary window. Enter and verify your desired password. Click Finish.
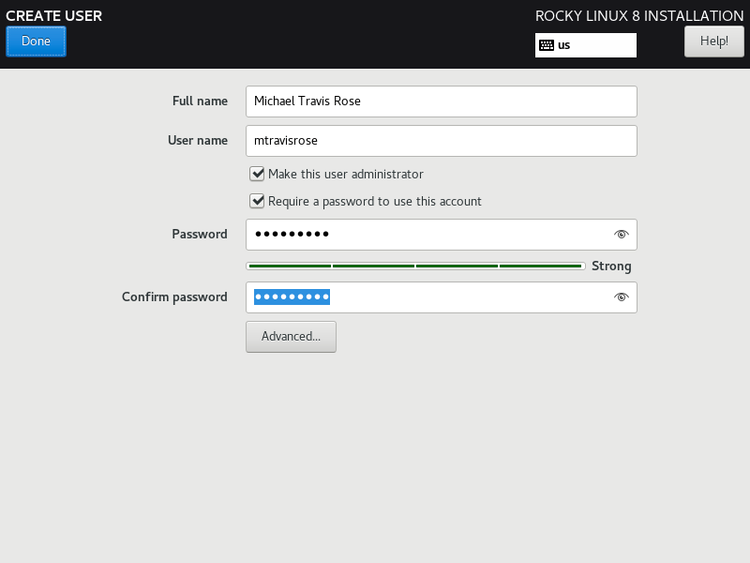
- Select Create User from the Installation Summary window. Enter your desired response. Click Finish.
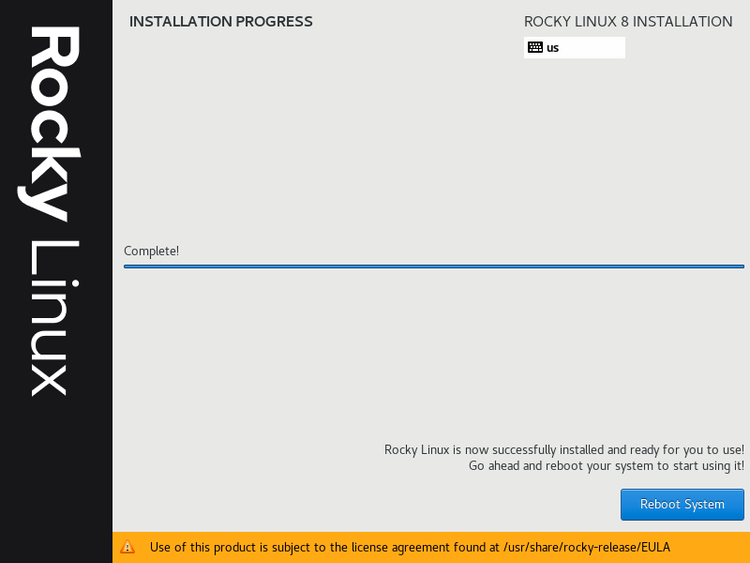
- Please be patient while installing Rocky Linux on your laptop/PC.
- After the installation is complete, click Reboot System. Remove the Rocky Linux bootable USB drive when prompted. Press
- After the system restarts, click Licensing Information in the Initial Setup window
- Read the license agreement, scroll to the bottom, and check I accept the license agreement. Click Finish.
- Click Finish Configuration.
Post-installation configuration steps for Rocky Linux
After Rocky Linux boots for the first time, you will need to complete some configuration steps.
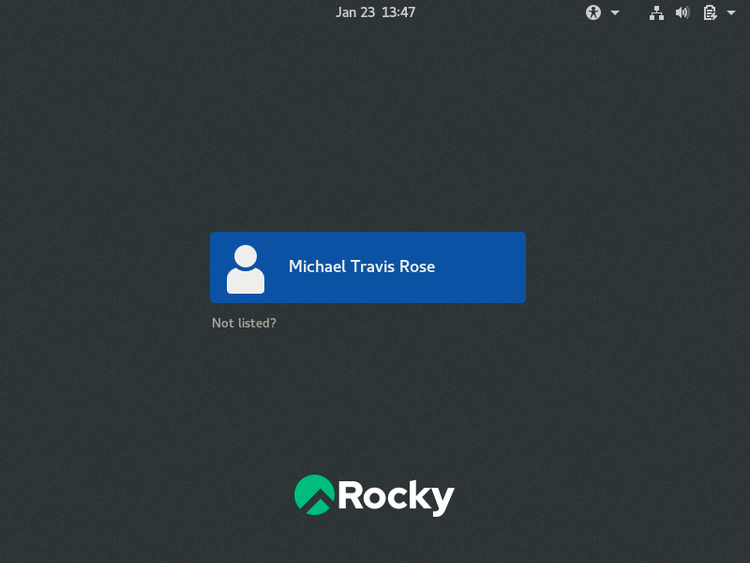
- Log in to the Rocky Linux installation using the user (and password) you created earlier.
- After the system restarts, click Licensing Information in the Initial Setup window
- Read the license agreement, scroll to the bottom, and check I accept the license agreement. Click Finish.
- Click Finish Configuration.
- Log in to your Rocky Linux installation.
- Select your desired language on the welcome screen. Click Next.
- Repeat typing the screen. Click Next.
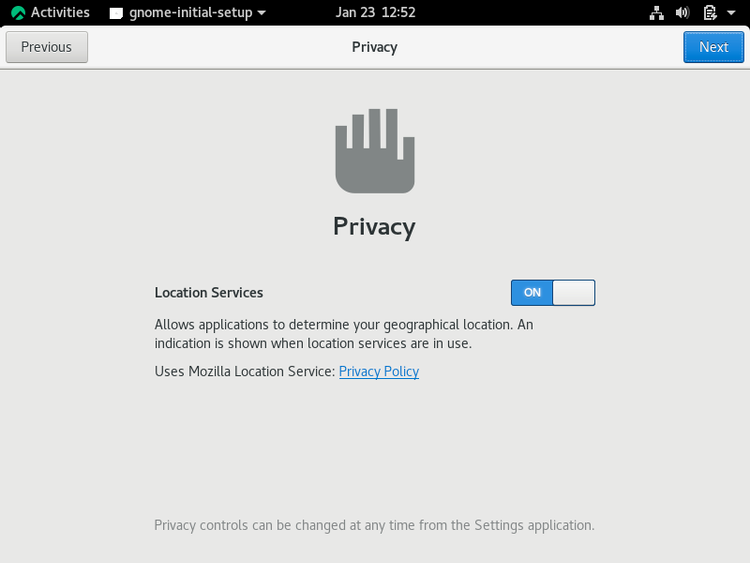
- On the Privacy screen, choose whether you want to turn Location Services on or off. Click Next.
- Select the online account you want to connect to and enter your credentials, or click Skip.
- Click Get Started with Rocky Linux.
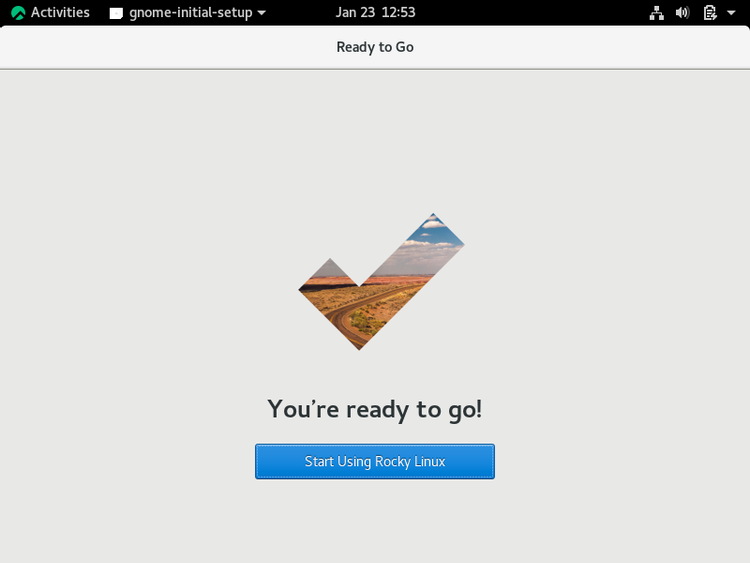
- Congratulations, you have successfully installed Rocky Linux 8 on your laptop/PC!
Whenever you install a new release, your priority is to update your system to make sure any security updates are applied as well as software on OS updates. Fire up your terminal and update your repository with the following command (enter your root password if prompted):
sudo yum check-updateAfter the yum check-update command completes, enter the following command to update your operating system and all installed software:
sudo yum updateAfter the sudo yum update command completes, exit the terminal with the following command:
Improve DNF speed for Rocky Linux 8.5
Dandified YUM, better known as DNF, is a package manager for RPM-based Linux distributions that install, update, and remove packages. It was originally introduced in Fedora 18 in a testable state (i.e. Tech Preview), but it has been Fedora’s default package manager since Fedora 22. The package manager in Rocky Linux is also RPM (Red Hat Package Manager). Package managers allow Linux users to install, update, and remove software.
After installing and updating and upgrading a new Rocky 8.5 installation, it is recommended that you increase the DNF speed. First backup the dnf.conf file.
sudo cp /etc/dnf/dnf.conf /etc/dnf/dnf/bakNext, edit the dnf.conf file:
sudo nano /etc/dnf/dnf.confYou can now increase DNF speed by adding parallel downloads by adding the following to the bottom of your dnf.conf file:
max_parallel_downloads=10Note that it is recommended that users start with 10, but you can increase it to a different number, such as 15, 20, etc. It is recommended to do this with caution. To enable the fastest mirror, add this line below max_parallel_downloads=10.
fastestmirror=TrueSave the updated /etc/dnf.conf file, then exit nano.
A restart or restart of any services is required as these changes take effect immediately.
Migrating to Rocky Linux 8.5
Existing CentOS 8.5, Alma Linux 8.5, RHEL 8.5, or Oracle Linux 8.5 users can easily migrate to Rocky Linux using the following procedure.
First, download the Rocky Linux migration script. The safest way is to download the migration script via git.
Type in your terminal. Install git by entering the following command (if prompted for a root password):
sudo dnf install gitNext, clone the rocky-tools repository with the following command:
sudo git clone https://github.com/rocky-linux/rocky-tools.gitYou can also download the migration script via the curl command (although this is a less secure method):
sudo curl https://raw.githubusercontent.com/rocky-linux/rocky-tools/main/migrate2rocky/migrate2rocky.sh -o migrate2rocky.shNow that you have the migration script, you can execute it and start the migration. However, first, you have to give the owner of the script file execute permission via the command:
sudo chmod u+x migrate2rocky.shFinally, we will execute the script:
sudo ./migrate2rocky.sh -r(Note that the ‘-r’ option instructs the script to install everything. Please be patient while the migration script completes. When done, exit the terminal.